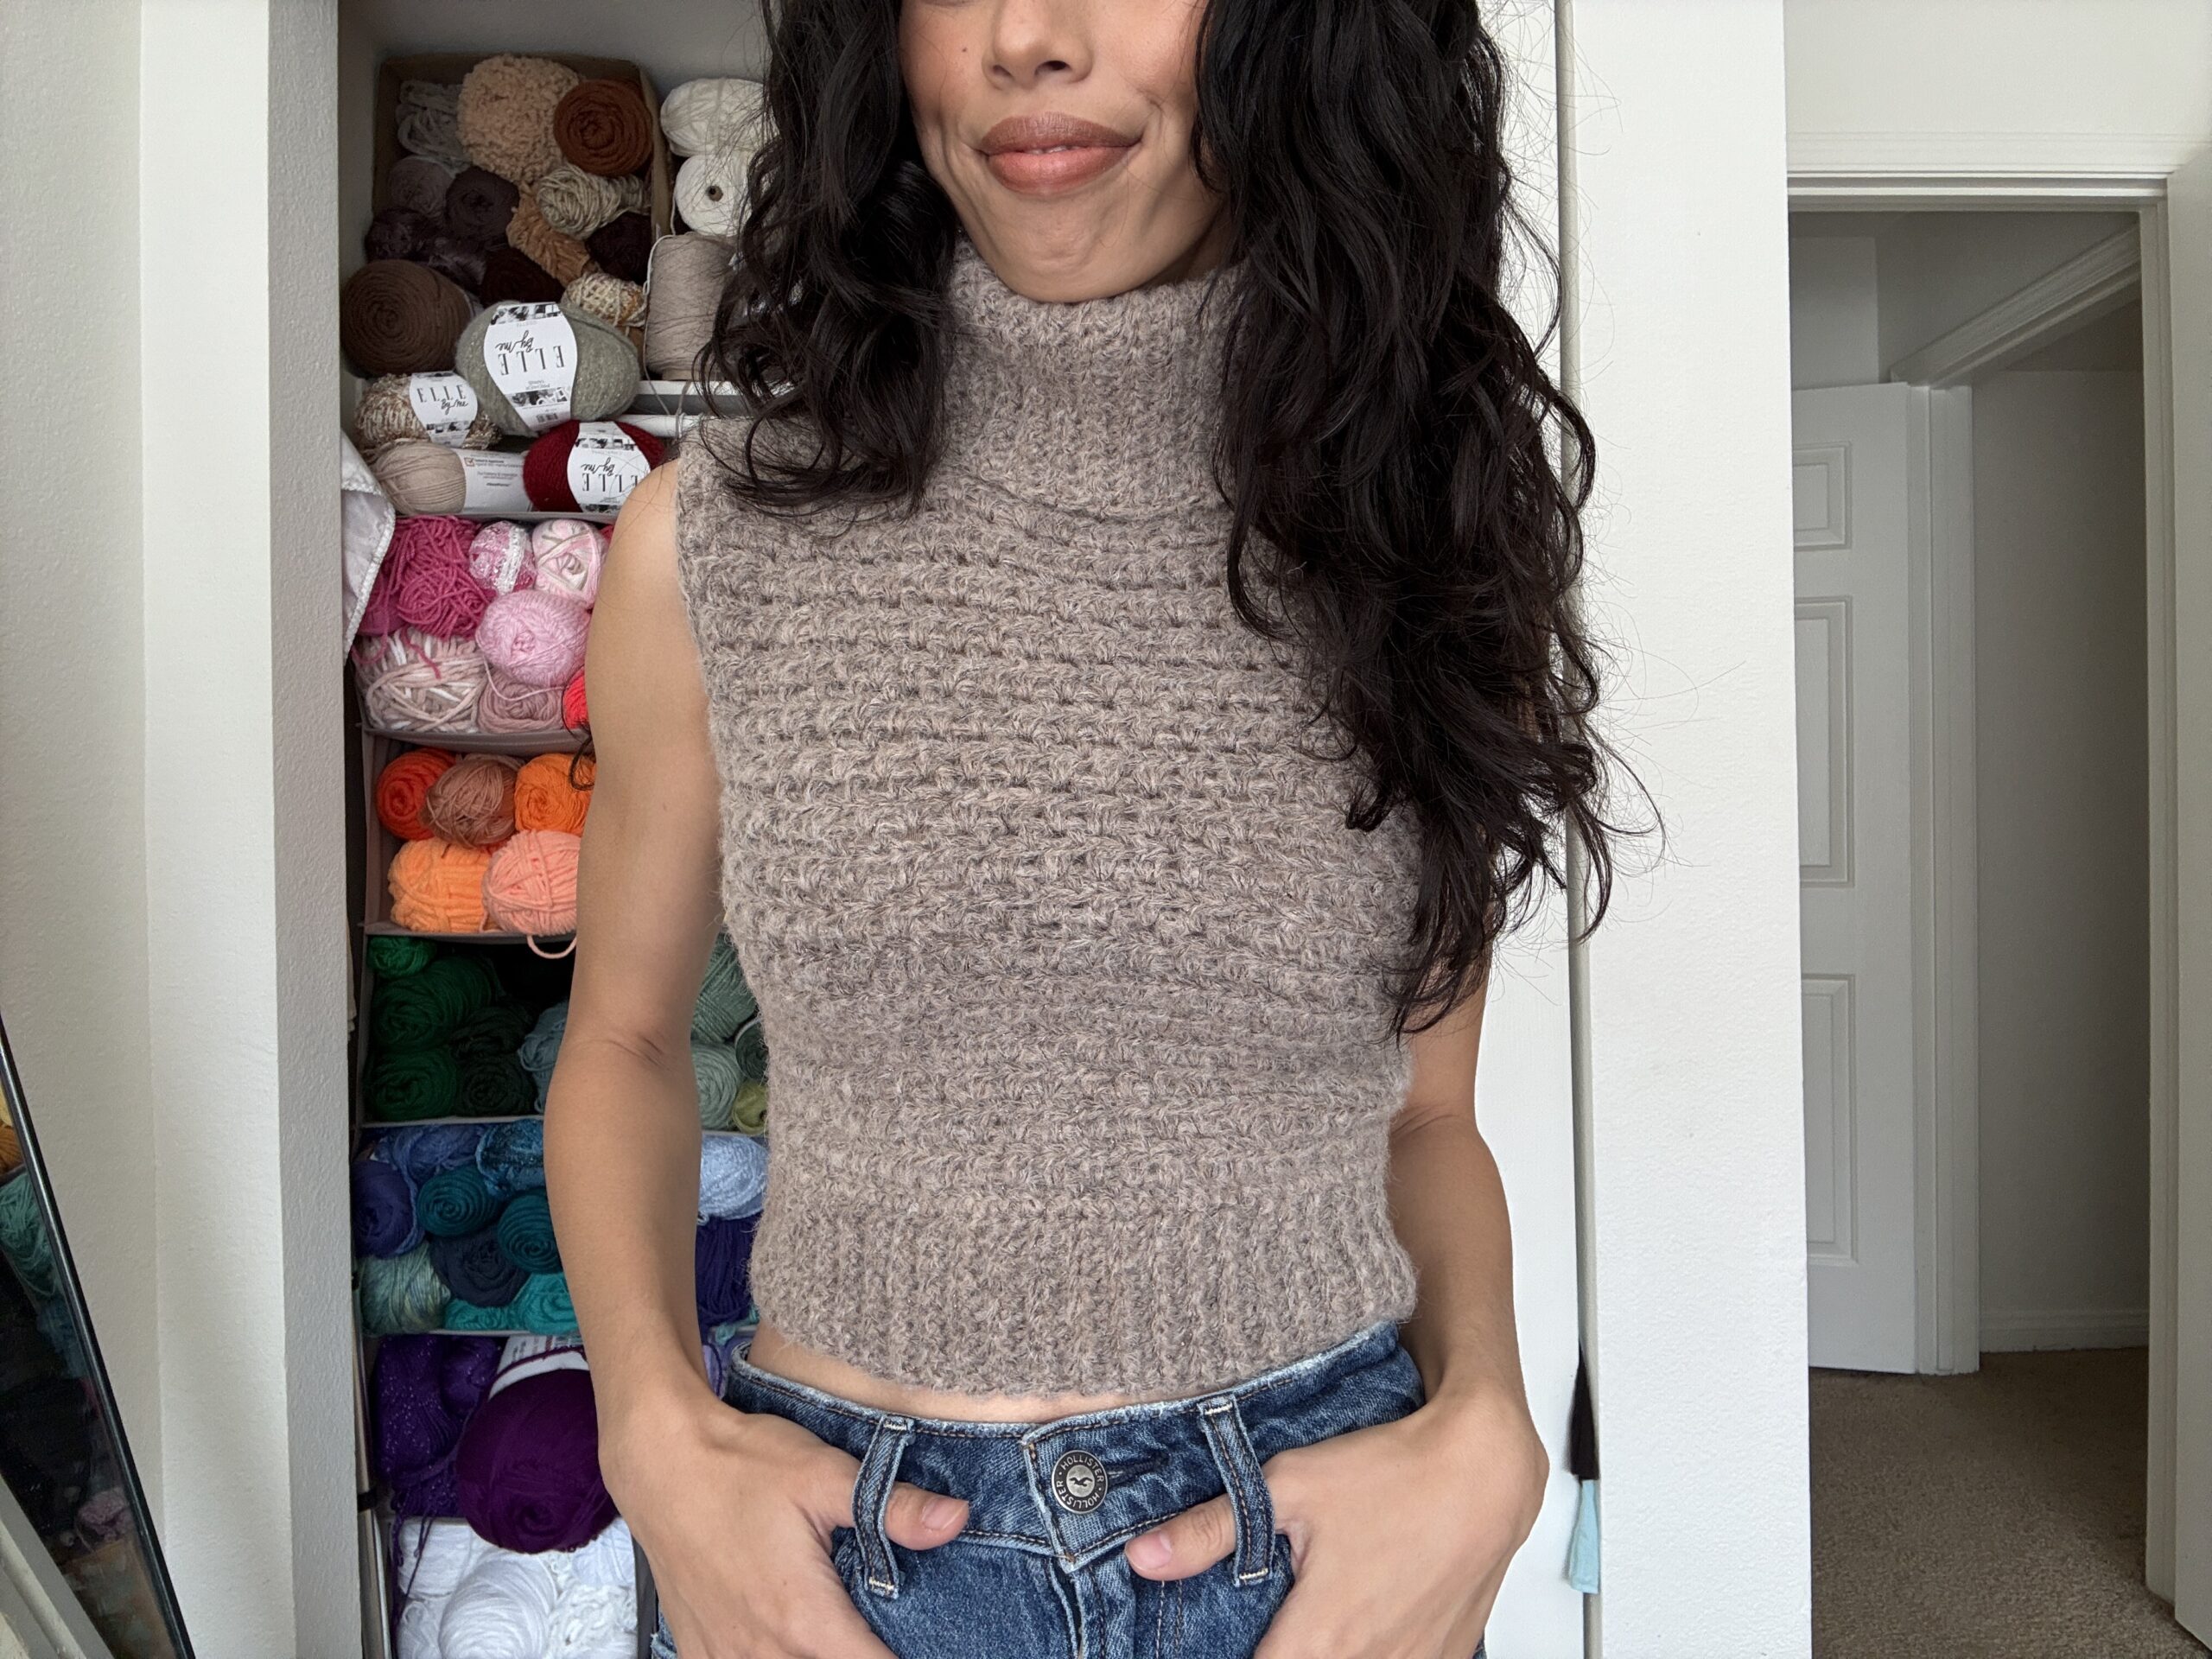
Hi crochet friend! I hope you enjoy this pattern and if you have any question please reach out via my contact page or my socials. I love layering pieces in the winter time so I made this with the idea of it being layered with a long sleeve under neath or maybe a jean/leather jacket on top. This is a relatively quick and easy pattern, I used a tank top that fit me really well as my guide for the fit of this turtleneck. The yarn I used for this sweater was a weight #5 bulky yarn, but I have made this with a weight #4 yarn and it turned out great too with minimal size adjustments. I love this piece and look forward to see your recreations!
Skill Level: Confident beginner
Fit: Made-to-measure (customizable)
Yarn: Bulky weight (Premier Yarns Odette in the colorway “Chocolate” or similar)
Hook Size: 6 mm (main body), 5 mm (turtleneck)
Yardage: Approx. 230g for size shown
Tools: Stitch markers, yarn needle, measuring tape, scissors
✂️ Sizing + How to Measure
This pattern is based on a made-to-measure method using a fitted crop tank or by taking your own bust measurement.
- Step 1: Measure just under your bust or use a crop tank that fits you well.
- Step 2: Divide that number by 2 — that is the width of one panel (front or back) including ribbing.
Example:
Underbust = 26.5 inches
Panel width (with ribbing) = 13.25 inches
Stitches Used
- ch – chain
- sc – single crochet
- hdc – half double crochet
- sc2tog – single crochet two together (decrease)
- hdc2tog – half double crochet two together (decrease)
- blo – back loop only
Front Panel
Ribbing (worked sideways):
- Hook: 6 mm
- Ch 11.
- Row 1: Sc in 2nd ch from hook and each across. (10 sc)
- Rows 2–54: Ch 1, turn. Sc in BLO across. (Work an even number of rows to ensure symmetry.)
Note: Your ribbing length should match half your underbust measurement.
Body (worked along the side of the ribbing):
- Row 1: Turn your ribbing sideways. Work 1 sc in the end of each row (54), and 1 extra sc into the chain row to make 55 sc total.
- Row 2: Ch 1, turn. Sc into first st, ch 1, skip 1, sc in next. Repeat across.
- Row 3: Ch 1, turn. Work 2 hdc into each ch-1 space, ending with 1 sc in last st.
- Row 4: Ch 1, turn. Sc into first st, ch 1, skip 1, sc in next. Repeat across.
- Repeat Rows 3–4 until panel reaches collarbone or your desired armhole height.
For reference: I worked 35 rows before decreasing.
Armhole Decreases:
- You should end on a hdc row.
- From each side, count 10 stitches inward and place stitch markers (20 sts total left in center).
- Begin armhole shaping:
Decrease Row 1 (sc, ch 1 row):
- Ch 1, turn. Sc, ch 1, skip 1, sc repeat until the last two sc – sc2tog in the final 2 spaces.
Decrease Row 2 (hdc row):
- Ch 1, turn. Yarn over, insert into first space, pull up a loop, yarn over, pull through 2 loops,
then start second hdc in next space and finish both together. - Finish row as usual with hdc clusters.
- Repeat these 2 rows (sc decrease row, hdc decrease row) for 6 rows total.
You should now have 41 rows total for the front panel (including the very first sc row along the ribbing edge).
Back Panel
Repeat everything from the Front Panel:
- Same ribbing (e.g. 54 rows if you used that before)
- Work 41 rows total for the panel height
- No shaping necessary unless you want identical front/back.
Seaming
Shoulders:
- Lay panels with right sides facing.
- Count in 18 stitches from each edge to mark shoulder width (~3 inches).
- Sew shoulder seams using whip stitch or mattress stitch.
Sides:
- Measure 7 inches down from the shoulder seam on each side to mark the armhole opening.
- Seam from that point down to the hem.
Turtleneck
Ribbing:
- Switch to 5 mm hook
- Ch 31
- Sc in 2nd ch from hook and across. (30 sc)
- Work 50 rows of sc in back loops only (or more if you want a thicker neck fold).
- Sew short ends together to form a loop.
- Fold ribbing in half lengthwise for a double-thick collar.
Attaching:
- With the sweater right side out, evenly attach the collar around the neck opening using stitch markers.
- Seam collar to neckline using a whip stitch or sc join.
Finishing
- Weave in all ends.
- Block lightly for shape (especially neckline and sides).
- Try it on and enjoy your custom-fit sleeveless sweater!
💬Tips
- Keep ribbing snug for structure.
- This pattern looks great with jeans or layered under a jean jacket or a leather jacket
- You can easily extend the length to make it a tunic!
Please reference to this YouTube video if you need additional help and again, if you have any questions please reach me via the contact page or my socials.
I also have a ton of other free fun patterns for you to try out or add to your “to-make” crochet list. Check out these free patterns and tutorials next:
🧶 15 Free and Beautiful Crochet Dress Patterns to Make This Summer
🧵 Stylish Hanging Crochet Dish Towel Pattern – Beginner Friendly
🍹 Cozy Up Your Cans with This Easy Crochet Can Cozy Pattern
Or visit the Blog Homepage to see what’s new!
With love,
Nikki